14 Jun 2025
On May 6, 2025, the Mobile Accessibility Task Force (MATF) of the W3C organization released a “group draft note” titled Guidance on Applying WCAG 2.2 to Mobile Applications (WCAG2Mobile). While I was initially very excited with its publishing, after reading through the WCAG2Mobile document more deeply, I was left with the feeling that the current draft is still in too early of a state for anyone working on mobile apps to benefit from. In this blog post I will outline the current state (as of the May 6, 2025 group draft note) of the WCAG2Mobile document and my hopes for its future state. I encourage anyone reading this blog post to check out the original WCAG2Mobile source material I have linked earlier in this paragraph.
Firstly, for those unaware, WCAG 2.2 are the latest set of accessibility guidelines that technological systems (mostly focused on web content) should adhere to. These guidelines help ensure all users are able to consistently interact with the content regardless of their abilities or the assistive technologies they require. Since the WCAG 2.2 document is largely focused on web content, the WCAG2Mobile document attempts to translate those guidelines in a way that will accurately convey their intent for easier implementation in mobile apps.
Unfortunately, “translating” is where the WCAG2Mobile document stops in its current state. Ignoring the fact that most of the criteria from WCAG 2.2 are still in the “Placeholder” state, awaiting discussion results from the MATF’s Github repo (see example here), the remaining criteria that do have updated mobile guidance only include semantic nomenclature changes. For example, the following is the updated mobile specific guidance for “Success Criterion 2.3.1 Three Flashes or Below Threshold”.
This applies directly as written, and as described in Intent from Understanding Success Criterion 2.3.1, replacing “Web pages” with “views”, “the whole page” with “the whole view”, and “the Web page” with “the view”; and removing “See Conformance Requirement 5: Non-Interference”.
With these substitutions, it would read:
2.3.1 Three Flashes or Below Threshold: Views do not contain anything that flashes more than three times in any one second period, or the flash is below the general flash and red flash thresholds.
While I do appreciate these nomenclature updates being made, I think the intent behind the guideline is clear regardless of whether “web page” or “view” is used in the description.
From the perspective of a builder of mobile applications, I enjoy the style of guidance given by Apple’s Human Interface Guidelines. Apple’s guidelines are already informed by WCAG 2.2 and effectively apply them to mobile applications. There are definitely platform differences between Android and iOS that are not accounted for in Apple’s documentation, however I think builders of mobile apps would be better served by taking guidance at the user interaction level instead of in the nitty gritty technical details of a specific platform. With this in mind, I hope that the WCAG2Mobile document evolves into a more holistic assessment of common mobile concerns (e.g. complex touch gestures, mobile design patterns like tab bars and in-app notifications) to provide solid cross platform mobile guidance instead of just a re-statement of the WCAG 2.2 criteria with updated terminology. I fear in the latter case that there may be no clear benefit to readers of the WCAG2Mobile document on top of the existing WCAG 2.2 statements. WCAG2Mobile becoming the de facto “human interface guidelines” for mobile apps generally would be an outcome that I would love to see!
With all this said, I’m very glad to see the work being put in by the MATF at W3C to ensure that mobile concerns are kept top of mind in the accessibility guidance from the organization. The statements from the W3C are truly the core of what many builders consider accessible applications and any steps toward making that clearer for everyone involved is great to see! I look forward to keeping up with the future iterations of the WCAG2Mobile document and the related Github conversations and I hope others do as well!
14 Apr 2025
Font scaling — or large text size — is one of the most widely used accessibility features on mobile. It allows users to increase text size system-wide, which is critical for those with low vision or who prefer larger fonts. In fact, around 20% of mobile users use a font scale above the default, making this a crucial consideration for Android developers.
In this post, we’ll cover how to support font scaling well in Android apps, highlight common issues like clipping and overlapping, and walk through practical testing strategies to prevent regressions.
Enabling font scaling
Enabling font scaling in your Android apps is quite simple (and it’s likely you already support it!). All that needs to be done is to ensure that the text in your application is sized in sp units. sp units are scalable pixels and allow the font size to be scaled based on the user’s device font scaling settings. If, on the other hand, you size the text in your app using dp units (density independent pixels), the text in your app will not change size no matter what font scaling setting your users have set. Luckily for us Android developers, Android Studio provides ample lint warnings regarding the use of units other than sp for text, so if you’ve been following that advice, the text in your app will likely scale appropriately already. This is not all there is to do however. To support font scaling well within your application it is vital to ensure that the UI of your app is dynamic and handles increased text sizes in a predictable and easy to use way.
While font scaling can cause many types of unique issues in your app’s UI, three tend to be the most common in my experience. Those issues are text clipping, overlapping content and lacking scrolling.
Text clipping
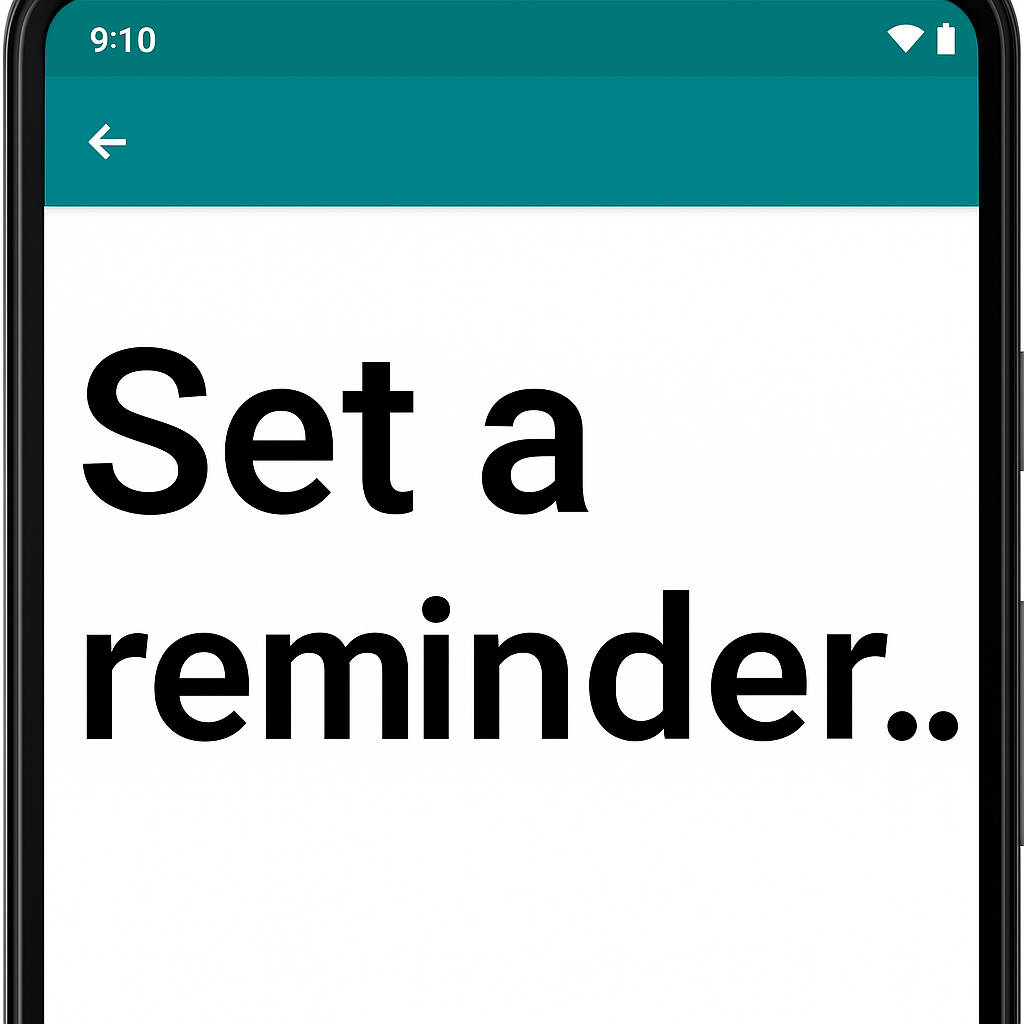
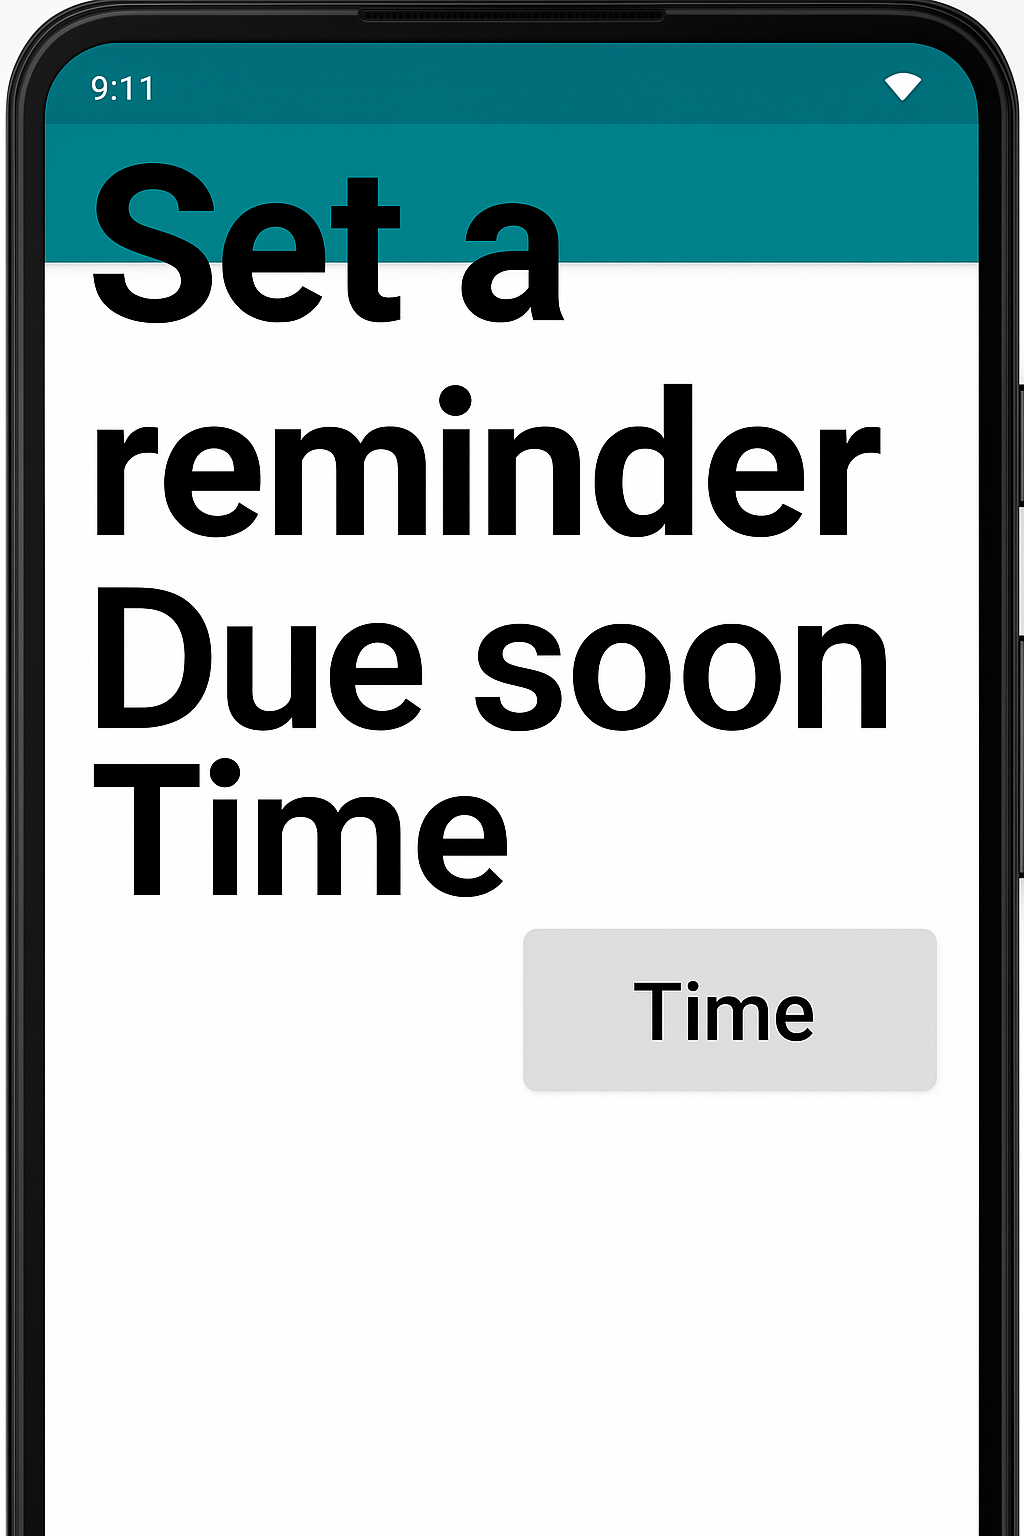
The first and most common issue that can occur due to font scaling is text clipping. This issue occurs when text is cutoff or truncated due to its size being increased and it running out of space to be displayed. A few situations where this issue often happens is when a text element is limited to a fixed number of lines or the text element has a fixed size.
Resolving this issue is usually simple on its own (e.g. increasing or removing the line limit or making the width/height of the text element dynamic). However, complexity can arise when these changes impact the other UI displayed in your app. In many cases content will be rearranged due to the large font scale and you must ensure this rearrangement works well on the screen as a whole. If you are working with designers, it’s a good idea to show them how the screen will look under the largest font scaling settings once you have ensured the text clipping issues are resolved.
Overlapping content
Another frequent problem caused by font scaling is overlapping content — especially in horizontal layouts. When two pieces of content are laid out horizontally next to each other, it is very common for them to experience overlapping when large font scaling is enabled on the device. As this type of layout is extremely common in mobile apps (e.g. side-by-side buttons, list items, etc), this is a problem that we should be sure to avoid.
Unlike the text clipping solutions, there isn’t an easy property update we can make to resolve overlapping content issues. The best resolution for overlapping content is to swap the content from being laid out horizontally (side-by-side) to being laid out vertically (content on top of each other). One library that can help with this is Flexbox Layout from Google, however you can also build something more lightweight for this specific case by creating a custom layout.
This final issue can occur on screens that normally do not need to scroll as the content displayed on them always fits within the screen. This assumption could be true at the default font scale (you did make sure to test on small devices right?), however when users increase their font scaling setting situations where the content exceeds the viewport size of their device can happen easily.
Fortunately, this issue is generally straightforward to resolve. Wrapping all of the content in your screen within a scrollable component like a Column or ScrollView will resolve this issue and have no negative impact for the default font scale case. These components only show scrolling when the content height exceeds the screen.
Testing
Now that we’re aware of the top issues to watch out for regarding font scaling, it’s important we know how to test for them in our apps and prevent future regressions after we fix them.
Snapshot tests are a great way to find font scaling issues and they can help you ensure regressions aren’t introduced in the future! These types of tests work by taking a screenshot of your apps UI in a particular state and recording that as an image file that is checked into your repository. When you run the test again, the test will check whether or not the generated snapshot is different from the snapshot that was previously stored and fail the test if so. You can simulate font scaling in your snapshot tests to visualize how your UI will behave under various scaling settings. Paparazzi is one of many Android snapshot test libraries that you could use to do this. Below is a code snippet showing how to set up large font scaling (2x scale in this case) in a Paparazzi test.
@get:Rule
val paparazzi = Paparazzi(
  theme = "Theme.Cash.Default.Accent",
  deviceConfig = DeviceConfig.PIXEL_2.copy(fontScale = 2.0f),
)
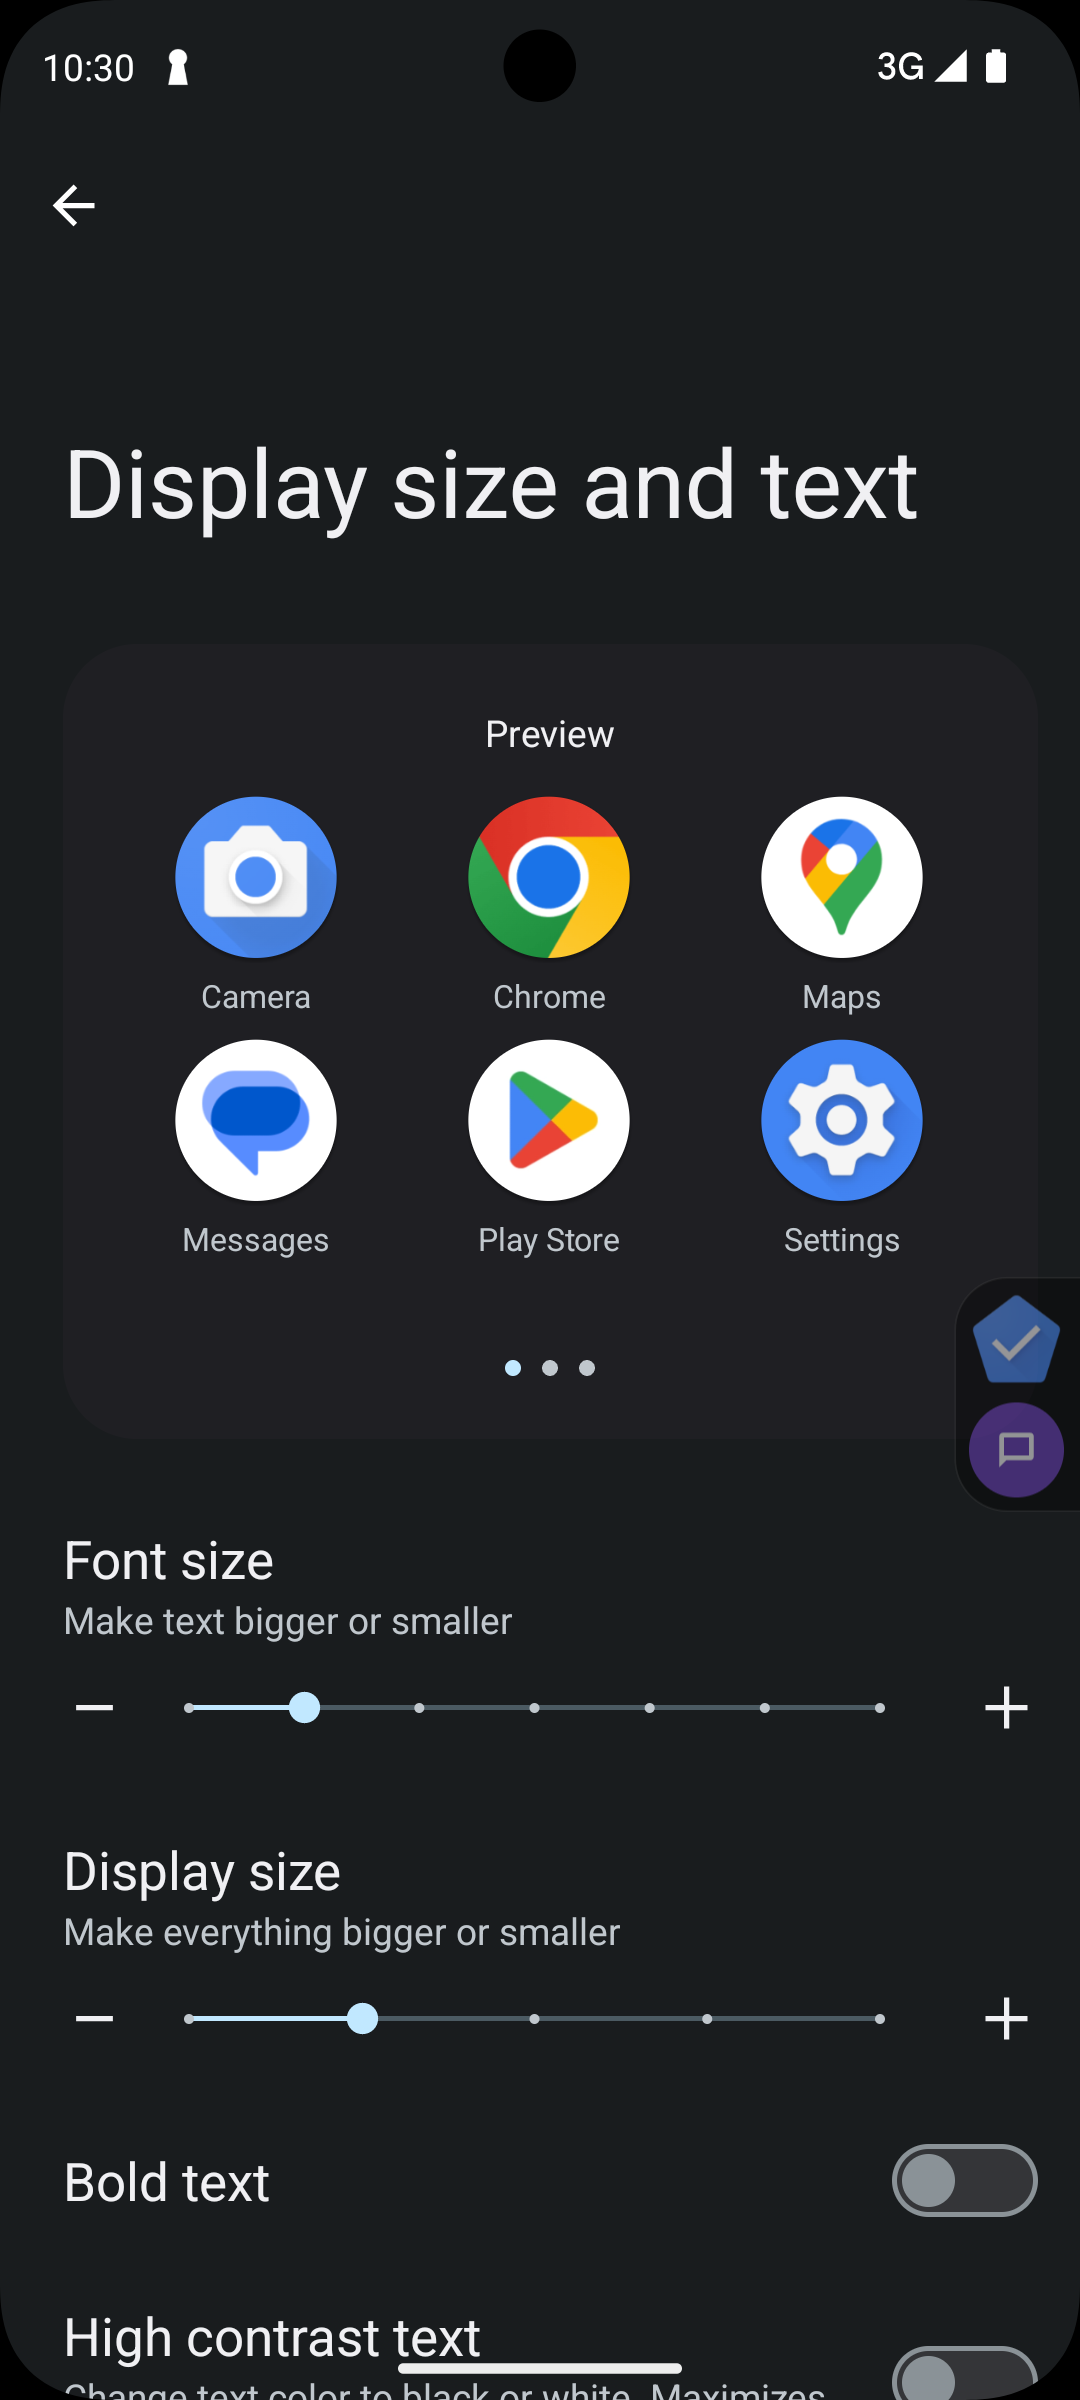
Finally, it is always good to try out your app on your own device with various font scaling settings to see how it behaves. While this type of manual testing is time intensive, it can showcase issues that might have been missed in your automated snapshot testing. To change the font scaling setting on your device you can find the options in the accessibility menu in your device’s settings app. Shown below is what the setting looks like on a recent pixel device, however it may appear differently on your device.
Now that we know common issues to watch out for and how to find them within our apps, we are ready to go out there and ensure font scaling works for all of our users! Large font scaling is the most widely used accessibility setting and as a result is one of the highest leverage fixes you can make to your apps to ensure they are accessible for everyone. Happy font scaling!
28 Jan 2025
Mentorship is an essential part of career development that offers valuable benefits for both mentors and mentees, making it a process everyone should participate in. While mentees typically seek growth opportunities and guidance to achieve their goals, mentorship isn’t a one-way street—mentors also learn from their mentees’ experiences and find deep reward in seeing their mentees succeed. In this blog post, I’ll share practices I’ve discovered for becoming a better mentee—techniques to enable faster learning and growth. Since the mentee’s effort is the largest factor determining the relationship’s success, these approaches will help you make the most of the opportunity.
Since mentorship is a two-way relationship, the mentee should drive discussions forward. Taking ownership of the mentorship’s direction distinguishes great mentees from passive ones who miss growth opportunities. To lead the relationship effectively, first set clear goals and share them with your mentor. This helps guide your conversations and enables your mentor to provide concrete guidance based on their insights and experiences. Clear goals might include aiming for a specific promotion (Senior Software Engineer) or giving a talk at a tech conference. Avoid vague goals like “improving technical skills.” Once you’ve established and communicated your goals, prepare for each meeting and make progress by acting on your mentor’s guidance. Without attempting their suggestions, you’ll find it difficult to grow between sessions.
Even with clear goals and proactive communication, you might find misalignment with your mentor’s expertise. This is normal and might signal it’s time to find a mentor who better matches your objectives. An ideal mentor is typically someone who’s just one or two steps ahead on your chosen path. For instance, if you aim to speak at tech conferences, consider someone who recently gave their first few talks and still remembers the beginner’s perspective. While a world-renowned speaker could help, they might not recall the specific challenges you’re facing or have immediately actionable advice.
Finally, share your successes with your mentor—let them know what worked and what didn’t. Keeping them informed of your breakthroughs demonstrates how their guidance has helped you and will also strengthen your relationship significantly. While mentors often develop their own skills like communication during the relationship, their greatest reward is seeing their mentees shine and succeed!
30 Oct 2023
In June of this year I gave a talk at Droidcon SF titled “Navigating the Unknown: Tips for Efficiently Learning a New Codebase”. This is the (long overdue) blog post
version of that talk. I’m going to walk through my approach for diving into a new codebase and then cover some next steps that I’ve found help me after I have
developed a good grasp of the codebase I am working in. Just a small note before jumping in: by “codebase” I’m generally referring to any logical area that a
single team might own in a large tech company. If you work on a smaller project, this could mean the codebase in it’s entirety, but it doesn’t have to.
Some brief background
For the last ~2.5 years, I’ve been an Android engineer at Cash App on three different teams. Before that I was in university, where I had the opportunity to take part in six internships. Throughout
all of these experiences I had to get up to speed fast to be able to make the impact that I wanted. As I grew, I realized that my perspective towards how I learned
new codebases changed and I started to see the importance of understanding how the ticket I was working on fit within the broader picture. These are some of the approaches
that I know now that I wish I incorporated earlier on in my career.
My approach
Ask for a code walkthrough
Your teammates who already understand the codebase are your best resource. Asking them to walk you through the codebase overall or through particularly tricky parts is
incredibly valuable. The earlier you can do this when joining a new team, the better. I used to try to learn a new codebase entirely on my own and I found that I would tend to
just pick a direction to investigate and dive in to as many files as I could find. It felt like I was making progress, but often the part that I really needed to
understand was just off the path I had taken. Your teammates can act as guides to point you in the right direction and increase the pace of your learning.
Create an architecture diagram
Creating an architecture diagram is something that I found really helped me understand how all the disparate pieces of the codebase fit together. Even if there is one
already created for your codebase, going through the exercise of trying to make one on your own is a good way to fully grasp how everything connects. I’ve found that
many times when starting work on a new feature, having done this exercise in the past really helped me understand how my work could best be built into the codebase.
Use a debugger
Most people just use a debugger for debugging an issue they are experiencing, however I also like to use a debugger to help understand the fine details of particularly
complex code. There have been many times when using a debugger lead to me to the realization that my assumptions about how a specific piece of logic worked were flawed. Often
times things are more complex than I originally thought and using a debugger forces you to face that reality head on.
What next?
After developing an understanding of a codebase, I realized steps must be taken to ensure that my time spent learning makes an impact on my team, company and career.
Write a doc
Writing a doc is one of the best things to do after you have a solid understanding of a new codebase. This document can serve as a tool for learning for not just yourself, but
also your current teammates and any new hires who will onboard onto your codebase in the future. My main tip is to focus on writing the doc that you wish you had when you were
onboarding. It can include things like the architecture diagram mentioned earlier and more specific descriptions of how complex parts of your codebase work.
Refactor?
As the person who likely has the most recent understanding of the codebase overall, you are in a good position to propose refactors to simplify things for engineers who will
need to understand and make changes in the future. Before making any large sweeping changes, however, it’s always good to ensure you understand the
reasons why things are the way they are. There may be historical context that is impossible to uncover from the codebase itself!
Find opportunities
Lastly, understanding your codebase broadly puts you in a good position to be able to find opportunities to solve problems that might be widespread or only noticeable when taking
a step back to look at the entire system. Finding these opportunities can take different forms depending on the culture and structure of your organization, but don’t be shy to
make proposals that expand your scope beyond your usual day to day work. As you move into more senior engineering levels, expanding beyond your project’s (or even your team’s)
scope becomes more desirable and I believe this increase in scope is incredibly hard to acheive if you have not already developed a deep and broad understanding of your codebase.
The three phases
I see three main phases in learning a new codebase: learn, document and share. Spending the time to learn and understand the codebase you work in will always pay off.
Documenting those learnings will help ensure that you will keep those learnings with you for a long time. Sharing your learnings is where the magic happens. It increases not
only your own understanding, but also that of your teammates and maybe even your whole organization.
04 Jan 2023
I started this blog a long time ago now, but have only just started writing for it relatively recently (albeit not too frequently). While this was spurred on
by a bit of embarassment of just having an empty page here, there were a few other reasons for why I wanted to write more blog posts.
I hope by sharing some of them I might inspire others to write more blog posts as well!
Practice, practice, practice
Firstly, one of the main reasons that I wanted to write more blog posts was simply to practice and improve my writing. Writing is one of the most important
skills to build, in my opinion. It is only more important in a distributed or remote work environment where writing is the main form of communication used
to keep people on the same page. This blog provides a great opportunity to encourage me to write more and edit my thoughts to improve my written communication.
Sharing my experiences
I also want to use this space to help others who might be experiencing similar things to what I have gone through in the past. I hope to build out this space
as a place where I can provide guidance and tips to others. I know that I’ve benefitted a ton from reading other people’s blogs and learning from them,
so I want to be sure to take the chance to give back. Everyone has unique experiences and perspectives, so we all have something worth sharing!
Clarify my thinking
I’ve heard many people mention how helpful writing is in sorting out your thoughts and really seeing if you understand something. This is definitely something that I
have experienced many times as well. When I’m trying to figure out a big decision or want to make sure I really understand a new topic I’m learning, I often like to write
something about it. This blog is a perfect place to do that since it gives me that little extra push to make sure the content is good enough to share.
What am I going to post about?
I don’t really have any specific content plans in mind for this blog. Mostly based off the above three points, I’m just planning to write about topics that fit best
within those guidelines, so mostly things related to my past experiences or things I want to clarify my thinking on and learn more about! So while my current posts
have been mostly tech career growth focused, I could see myself posting about many things from book reviews, travel summaries, technical Android posts or things I may
not have even thought of yet.
Writing this out definitely helped me better figure out what I want to do in this space and all in all, I think there’s benefits from these blog posts even if no one else reads them.
I do hope however, this may inspire some of you to start writing more on your own as well!